LESSON 7
Press & Photography
The only (real) way someone is going to decide whether to rent your house, buy the object or product you have created, or engage with your project or space is through photos. By not having photos that properly showcase the project you’ve been working on, you are completely missing the fact that your audience only ever buys or experiences your work through the imagery you put out into the world.
Like everything we have learnt so far, there is both art and science that goes into taking beautiful photos that evoke emotion and help us tell our stories. Your project, whatever that might be, is more than likely everything someone wants, or wants to experience, but if you can’t convey that through your imagery, no amount of words will interest people. That being said, though, don’t be frightened of the process! Anyone can do it and I’ve seen it. Photography is really about learning the rules and then practice, practice, practice.
Every great photographer and every good enough photographer I know (including myself) is self-taught. We’ll use this chapter to demystify the process of photography and get you on the right track to making beautiful, emotional, and evocative imagery – and as a side line to that, learn how to have beautiful images taken for you that work hard in a marketing sense too.
Following on from this, we will teach you how to start getting press and promotion for your work, if that is something that both interests you and would be useful in terms of where you are aiming your project. Getting press isn’t hard, it’s all about following the right processes and contacting the right people. Let us help you in this chapter.
This chapter hinges upon hands-on practice with your camera (or phone). This includes getting familiar with taking photos and learning how to look at your property or project as something to be captured – aka when and how best to shoot it. I encourage you to spend a lot of time this week looking at and observing your project. If you don’t have a real life project just yet, use your workspace, or pick a subject, and enjoy the practice of learning to take photos.
Get your cameras ready and let’s begin with the overview.

“When making plans, think big. When making progress, think small.”
— James Clear
Lesson: Taking Your Own Photos
Probably the most common question I get asked is what filter I use. The thing is, evocative imagery has nothing to do (really) with filters – it all starts with taking a good photo first and I am a sincere believer that you can take an excellent photo on any device. It just comes down to a few things — which I am going to explain here, with examples — and are things which I would like you to start to practise in every image you take. Once you get these basics right, the sky is the limit for you.
Firstly, clean your lens. If you want to instantly make your image five times better, get in the habit of wiping your lens, particularly if you are using a phone camera. I just wipe mine on my shirt or skirt before I take any image; a few weeks of forcing myself do to that, it’s now become a habit. Another trick if you wear glasses, is to clean the lens on your phone every time you polish your glasses. If you are using a camera rather than a phone, buy a lens cleaner and keep your lens fresh and smudge free. Below you will find a real world example of what an extraordinary difference this can make to your image, especially on your camera phone lens – which are by the nature of what they are, in pockets and handbags, filthy!


Clean Your Lens: Most of us will be capturing our images with our camera phones, the camera that is most often attached to us at all times. Here’s a great example of how much of a difference it can make to simply wipe a dirty lens off before you take your shot. Try and make it a habit.
The second, and second most important factor to consider is your lighting. Photos are all about lighting – and painting with light, above anything else. Practise restraint and only take photos where the light is good – almost always this is when light is pouring in from the side of your intended subject. This is because side light gives depth and contrast to a scene or object, whereas most other light flattens your image.
I suggest waiting until the right time of day to take your photo, or practise blocking off light with a curtain, closing a door, holding up a blanket, or something similar so you can control the light. I personally take note of a room’s natural light pattern, designing the room in such a way that I ensure beautiful side light. A bed positioned near a window, etc. There’s no doubt I absolutely consider photos when designing a room and I encourage you to, as well – it makes your life much easier later on. Below, let’s look at some examples of what an impact different lighting can make to the same image.

Lighting from the front: Notice how the image looks flat and amateur, even though taken by a professional with top class equipment.

Lighting from the side: Finally we have it right, the light is only coming in from the side of the image now, the subjects look great, with a sense of depth and crispness to them. This is all down to the direction of your light.
Lighting from the back: In this image, the light is coming in from behind the subject, notice how the image also seems dull.
The above examples show the three directions of lighting, and the huge difference it makes to the same image. We shot this series of images in a studio, and moved around studio lighting so you could see the difference it makes, but how do we practise this in the real world without studio lighting? Here’s some basic guidelines that can help you.
Firstly you could consider controlling your lighting. If you are taking a photo of a room or a vignette in a room, you can close all doors and windows (if you can) except those positioned to the side of your subject. If you are unable to cancel out a light source, such as a window without curtains on it, you could have someone hold up a thick towel over it, or even in some professional circumstances, mask it off with black plastic and painters tape.
Secondly you could consider finding the right light. Say, for instance, you would like to shoot a product or an object you have made. You can scour your home for spaces you can use as a shelf with that sought-after side light, or set up a table next to the perfect window. This video is great for explaining how to do that, and this article gives a helpful overview as well. Think about lovely backdrops you could make with lime wash paints, old table top surfaces, tiles, tin ... papers! The options are endless once you start thinking creatively and have found that perfect window!
Lastly, you can find the right time for your light. There will be times of the day, mostly sunrise and sunset, where light comes in mainly from one side of your space. If you learn how your space is lit at certain times of the day, you can take your images when the light is just right! Let’s look at an example of this in the real world.
Captains Rest: A wall at this cottage, taken by the same photographer, with the same equipment on the same day, just a few hours apart. This first image was taken around lunchtime when the sun was overhead in the sky, where light was entering the room from three sides, from the right, from behind the photographer and from the left.
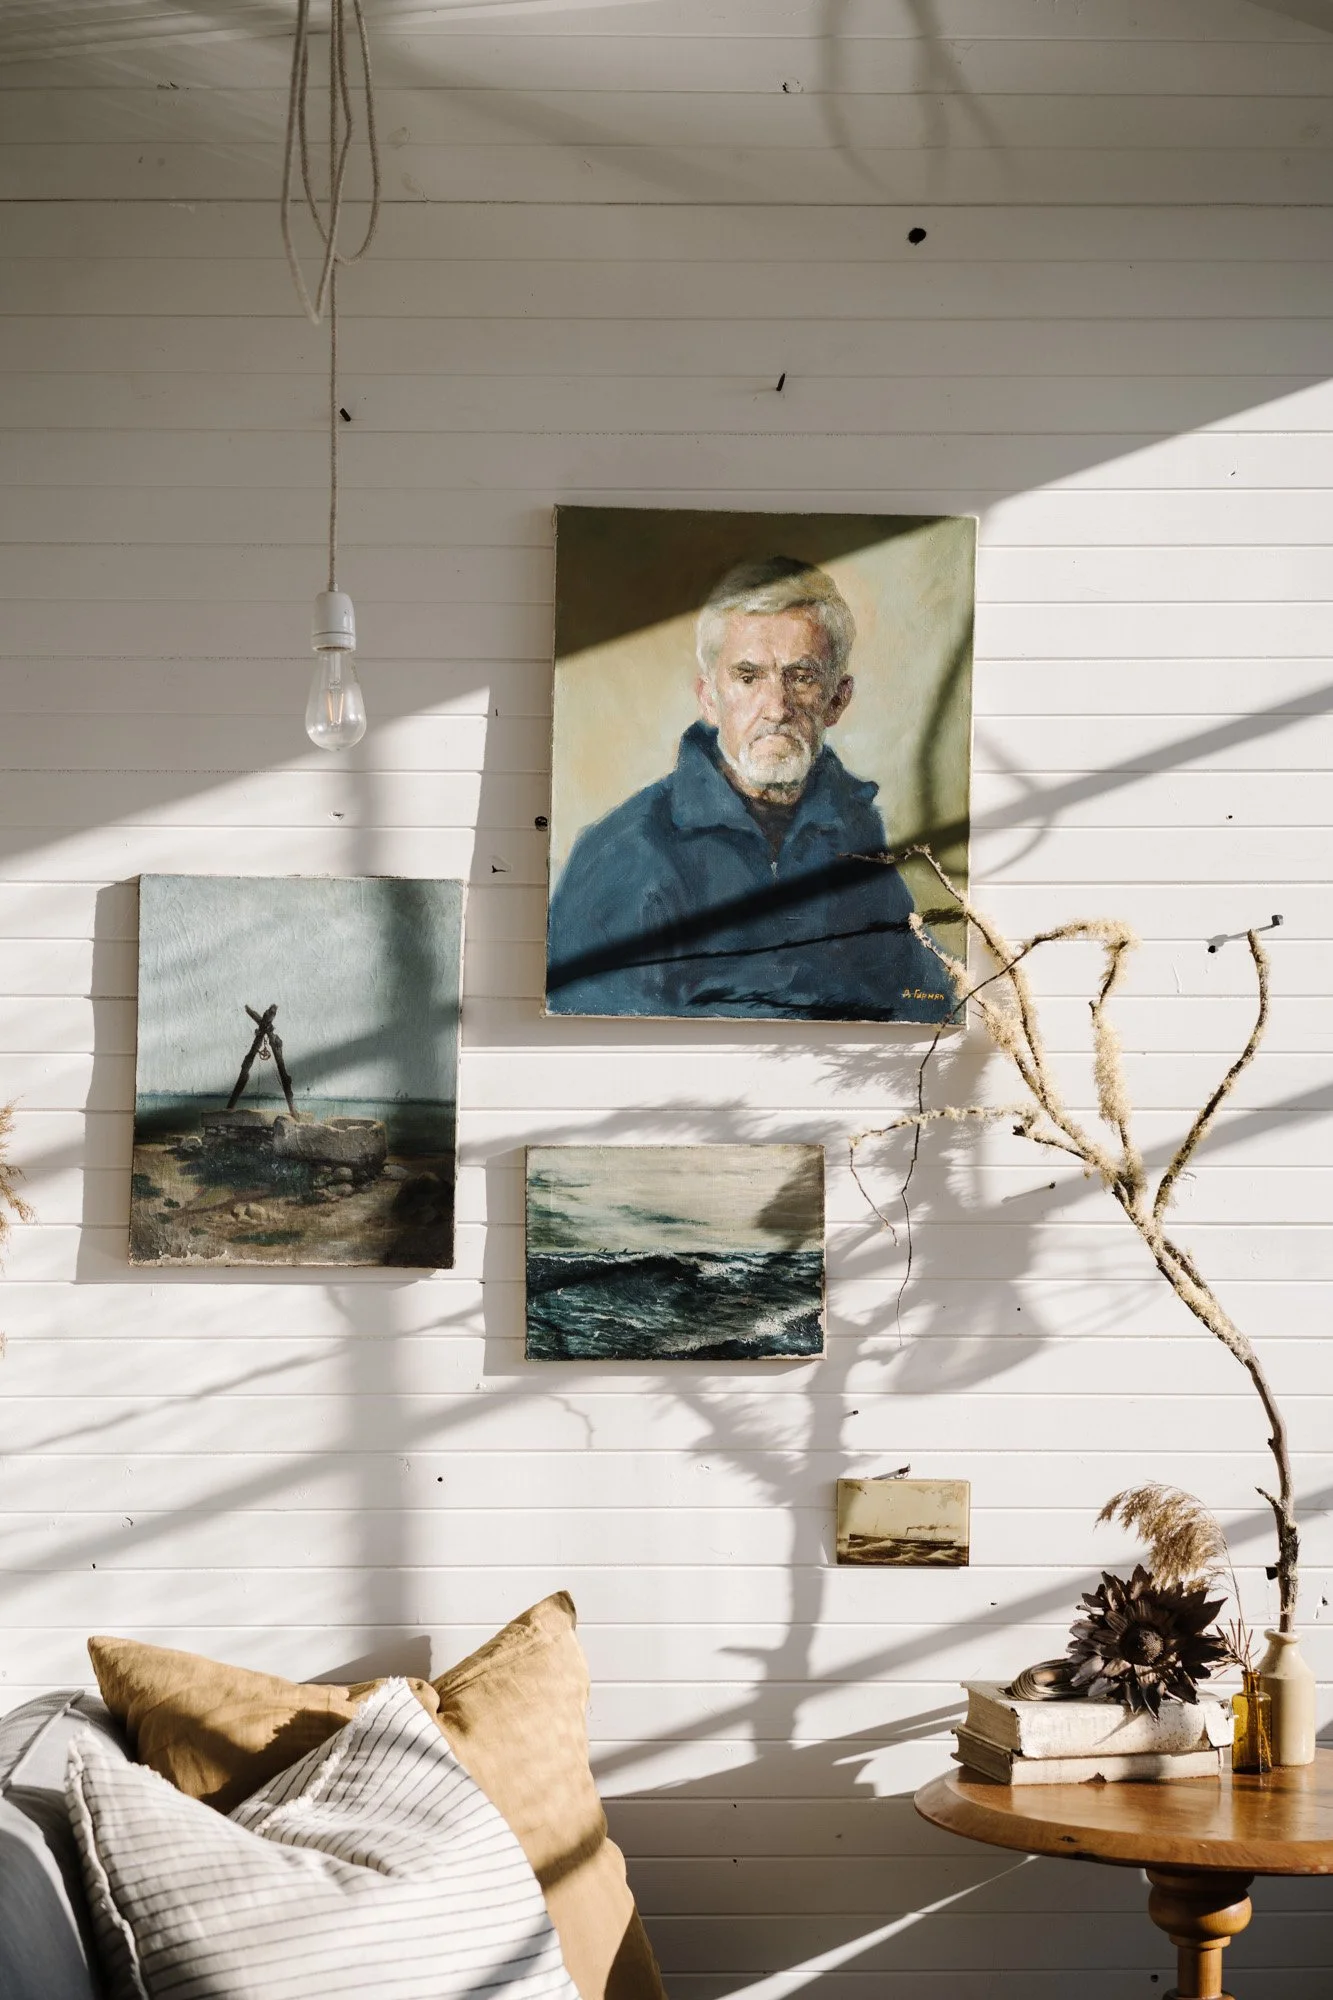
I think we can do better: This second photo was taken a few hours before, just after sunrise, when the light was only entering the room from the right because the sun was just over the horizon. See how the photo has come alive? See what a difference the light direction has made?
Next, in addition to considering where your light is coming from, you need to consider what your light is. I always turn off all artificial lights, including overhead ones or lamps. When natural and artificial light “mixes”, it creates this nasty muddy tone, which always results in a terrible photo. It’s best to rely solely on natural light.
Make it a habit to walk around and turn off all artificial lighting, no matter how minor it may be, before you take an image. Let’s explore what a difference this makes in the two examples to compare below.
Look closely at the two examples. See how there is a “muddiness” to the first image? That is because there is a mix of natural and man-made light in it. This mix can’t be altered with filters; it is simply just best to make sure you are only using once source of light – natural light.
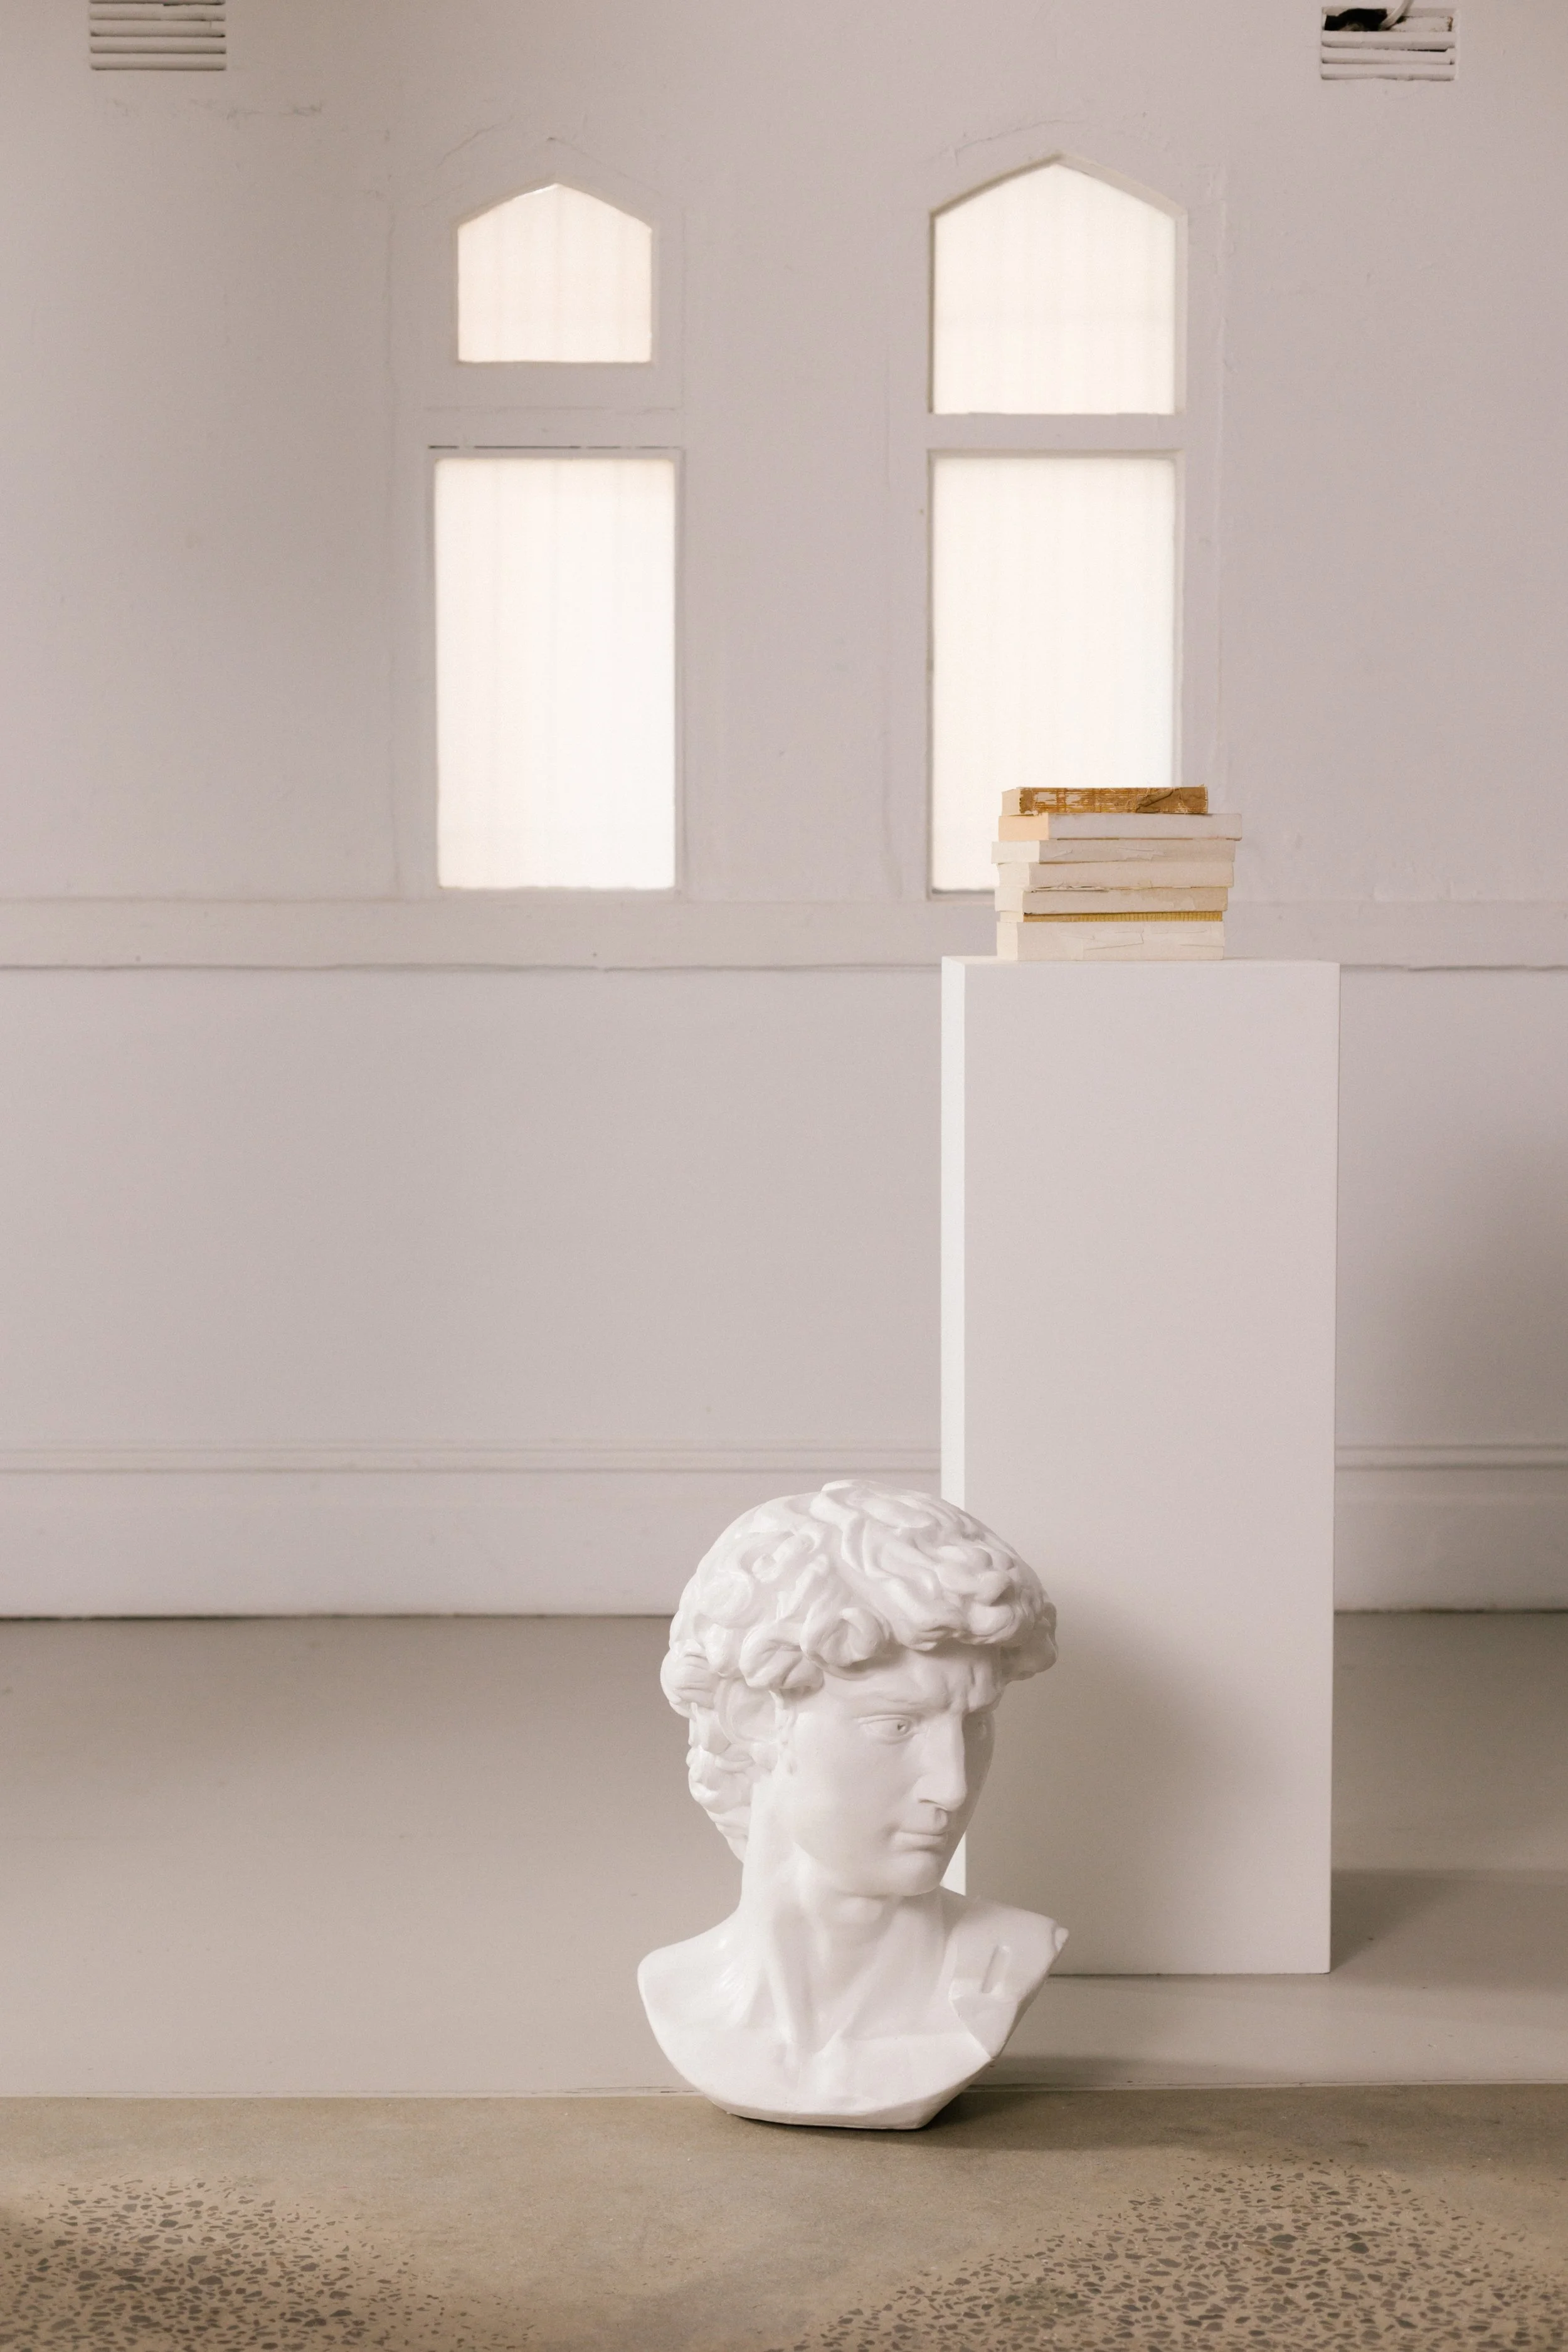
Next, you’ve made all the preparations to take a great photos. You’ve cleaned your lens. You’ve blocked off all the light in your room except for what’s coming from the side, you’ve turned off your overhead lights – now you are finally ready to take your shot! So, make sure you check the lines. When you decide to take an image, remember that you are composing a picture, so think about your scene as a finished product and take a moment to make sure all your lines are straight.
Things like doors, window frames, table tops. There is nothing that gives away an amateur photographer faster than wonky lines. It’s best to watch these when you’re taking the photo rather than having to fix them afterwards, but don’t fret, they can be straightened in the edit – which we will give you advice about in this chapter. Let’s explore what that looks like in real world examples.
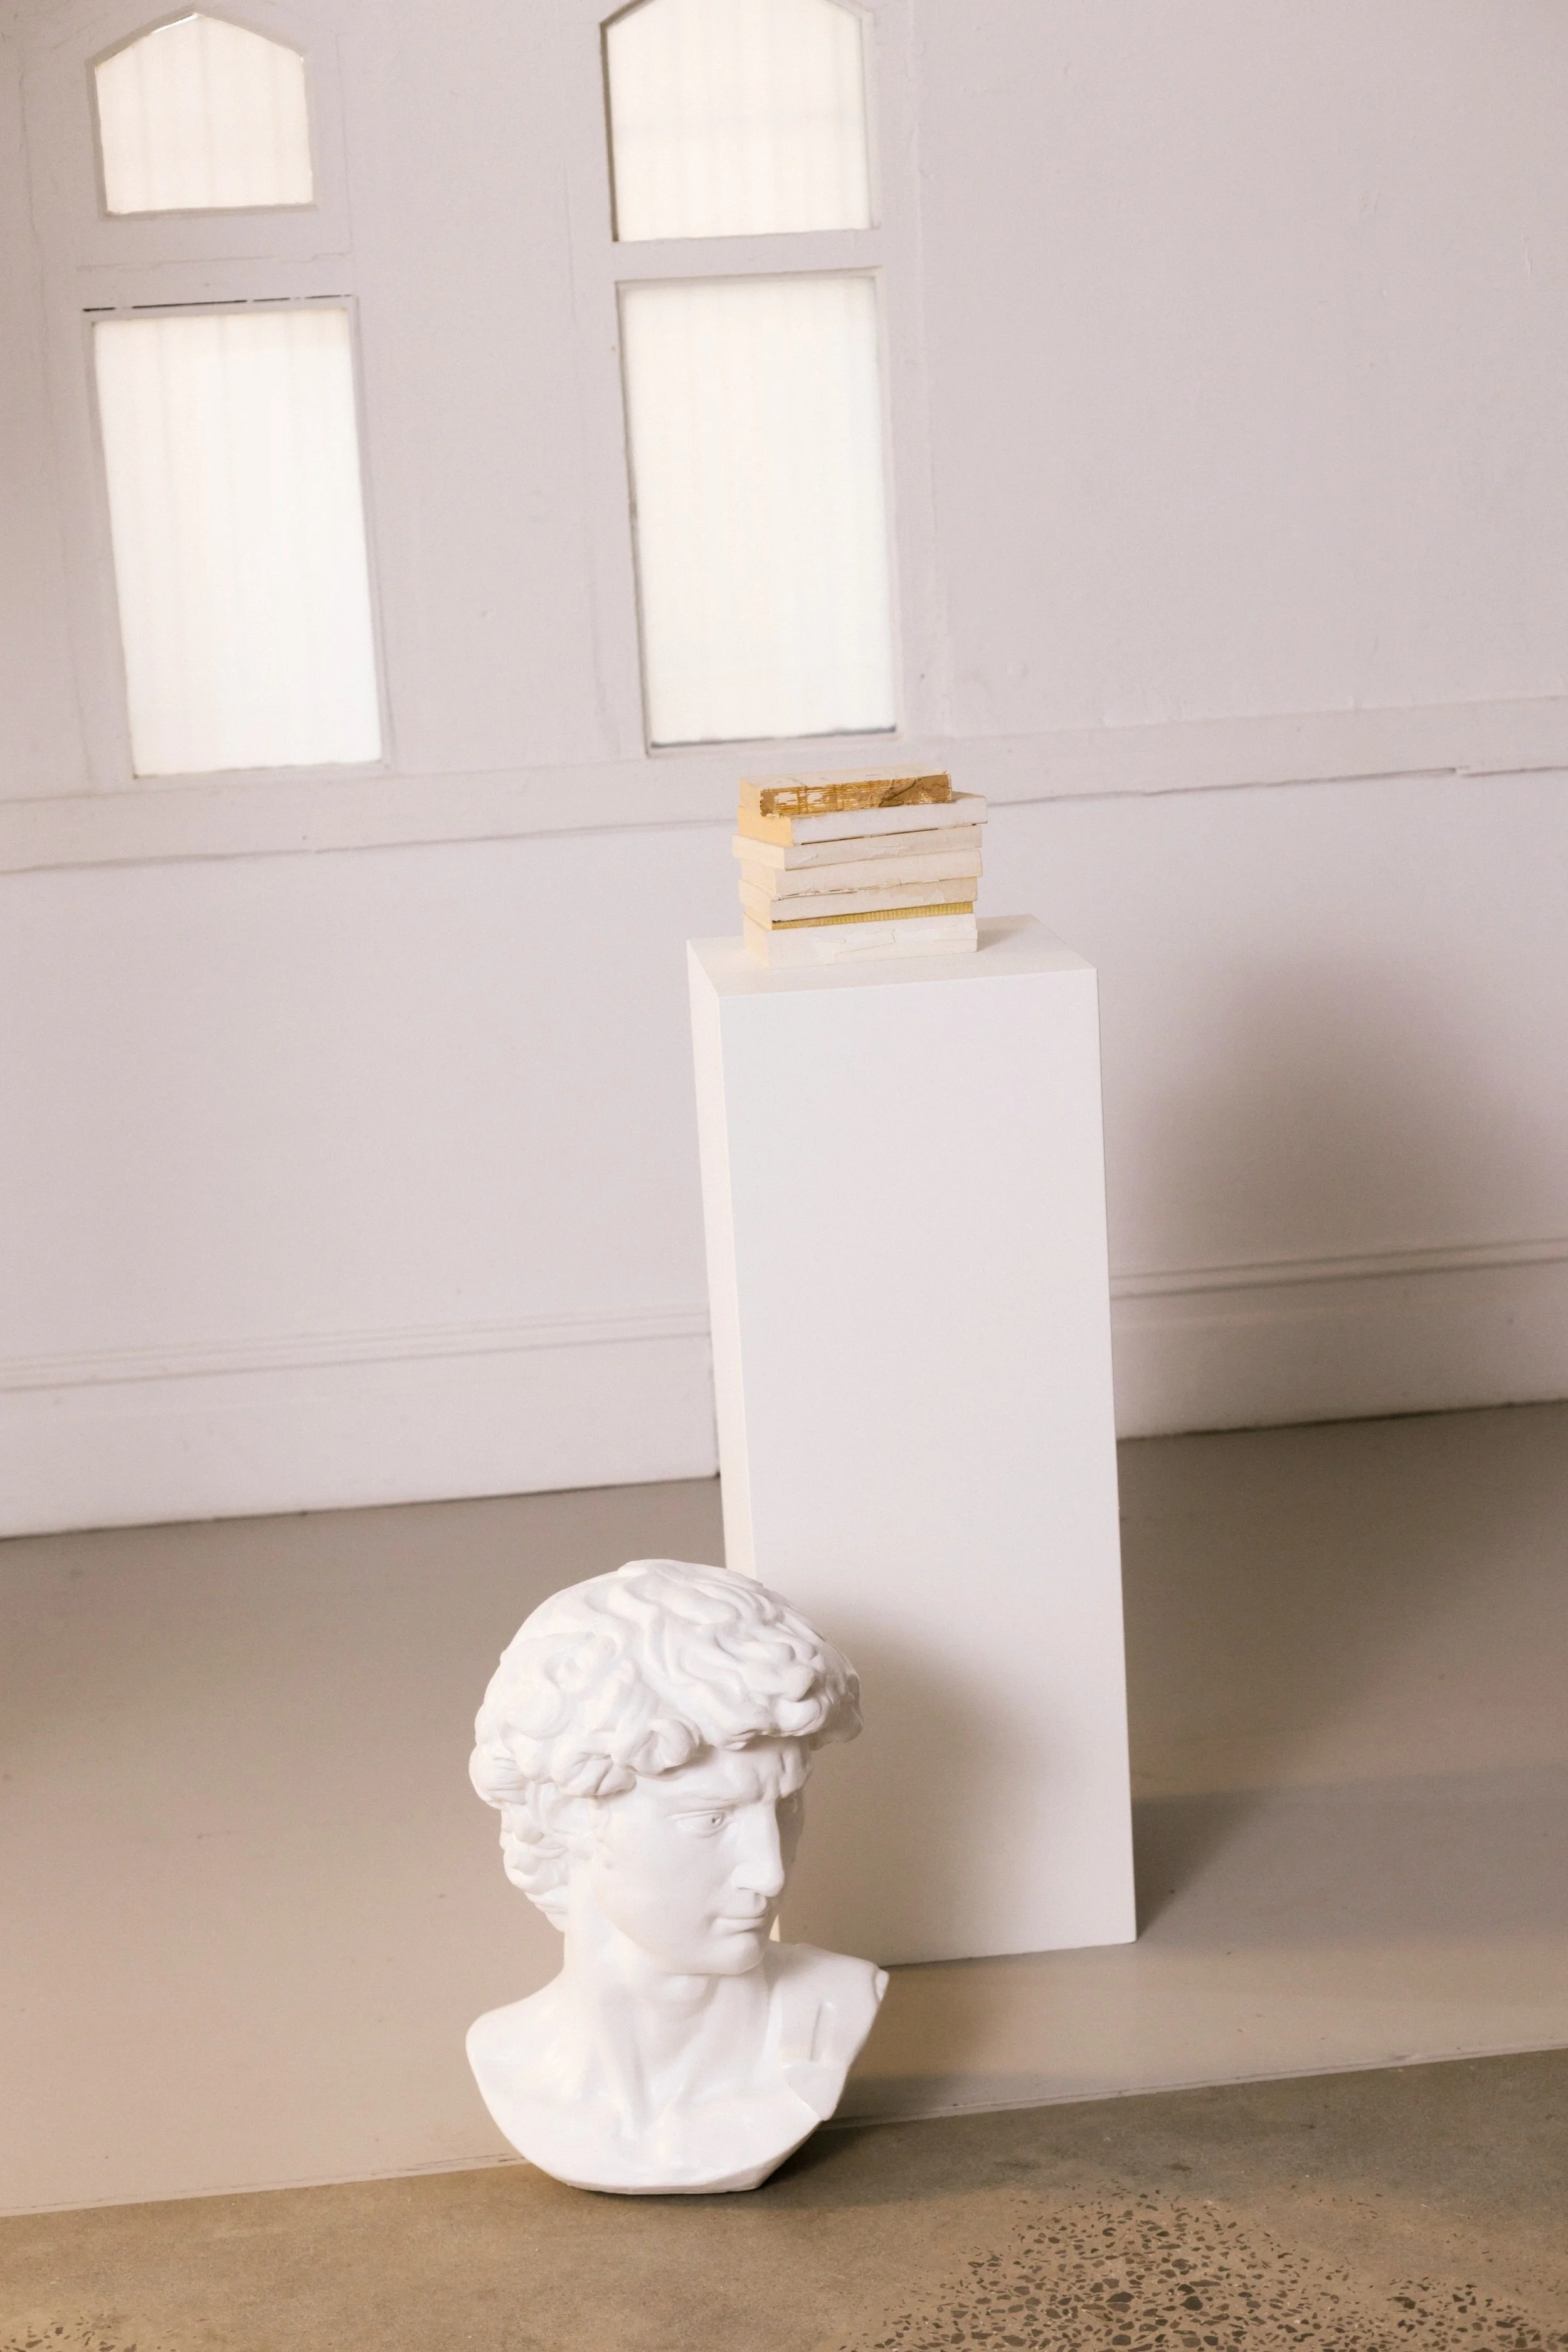
An extreme example I know, but I love to make my point! See what a difference it makes, ensuring all the lines that are in your image are straight?! Try your best to make sure you get it right when you take your image. If not, you can always make slight adjustments in the image editor on your phone or on your computer when editing. For bonus points here, can you identify which other mistake we have made in the left-hand image as well as our lines being wonky?
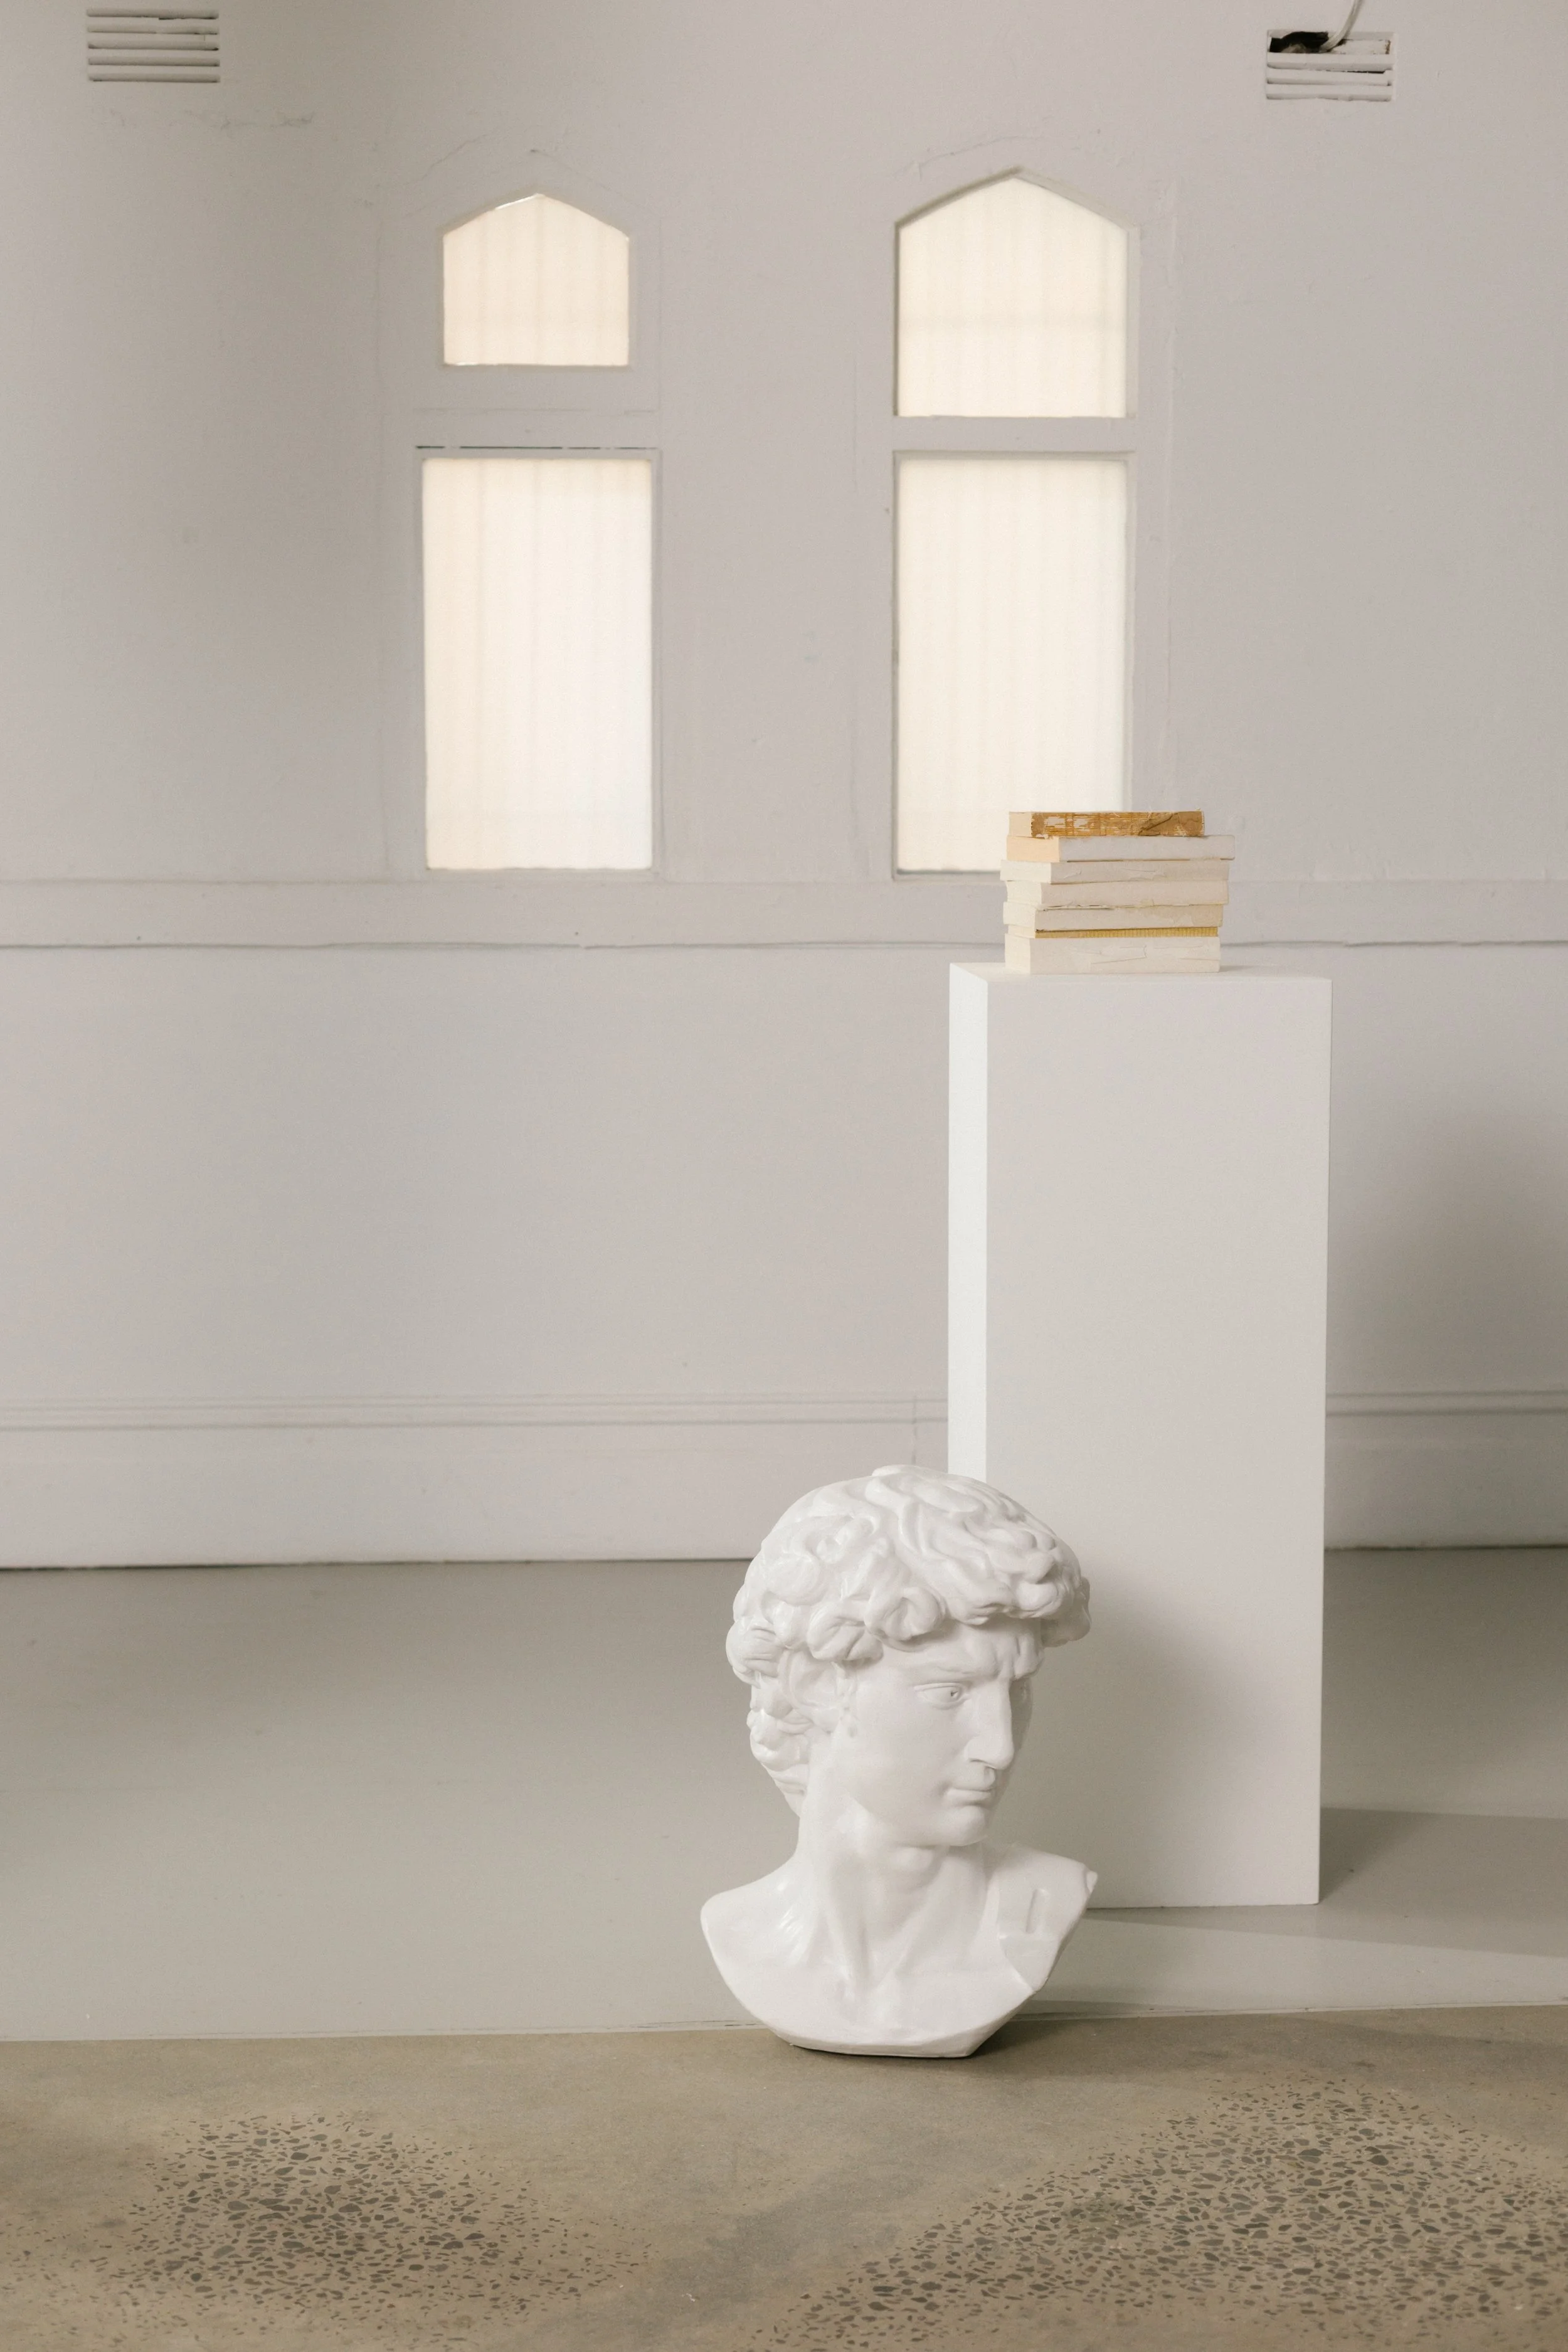
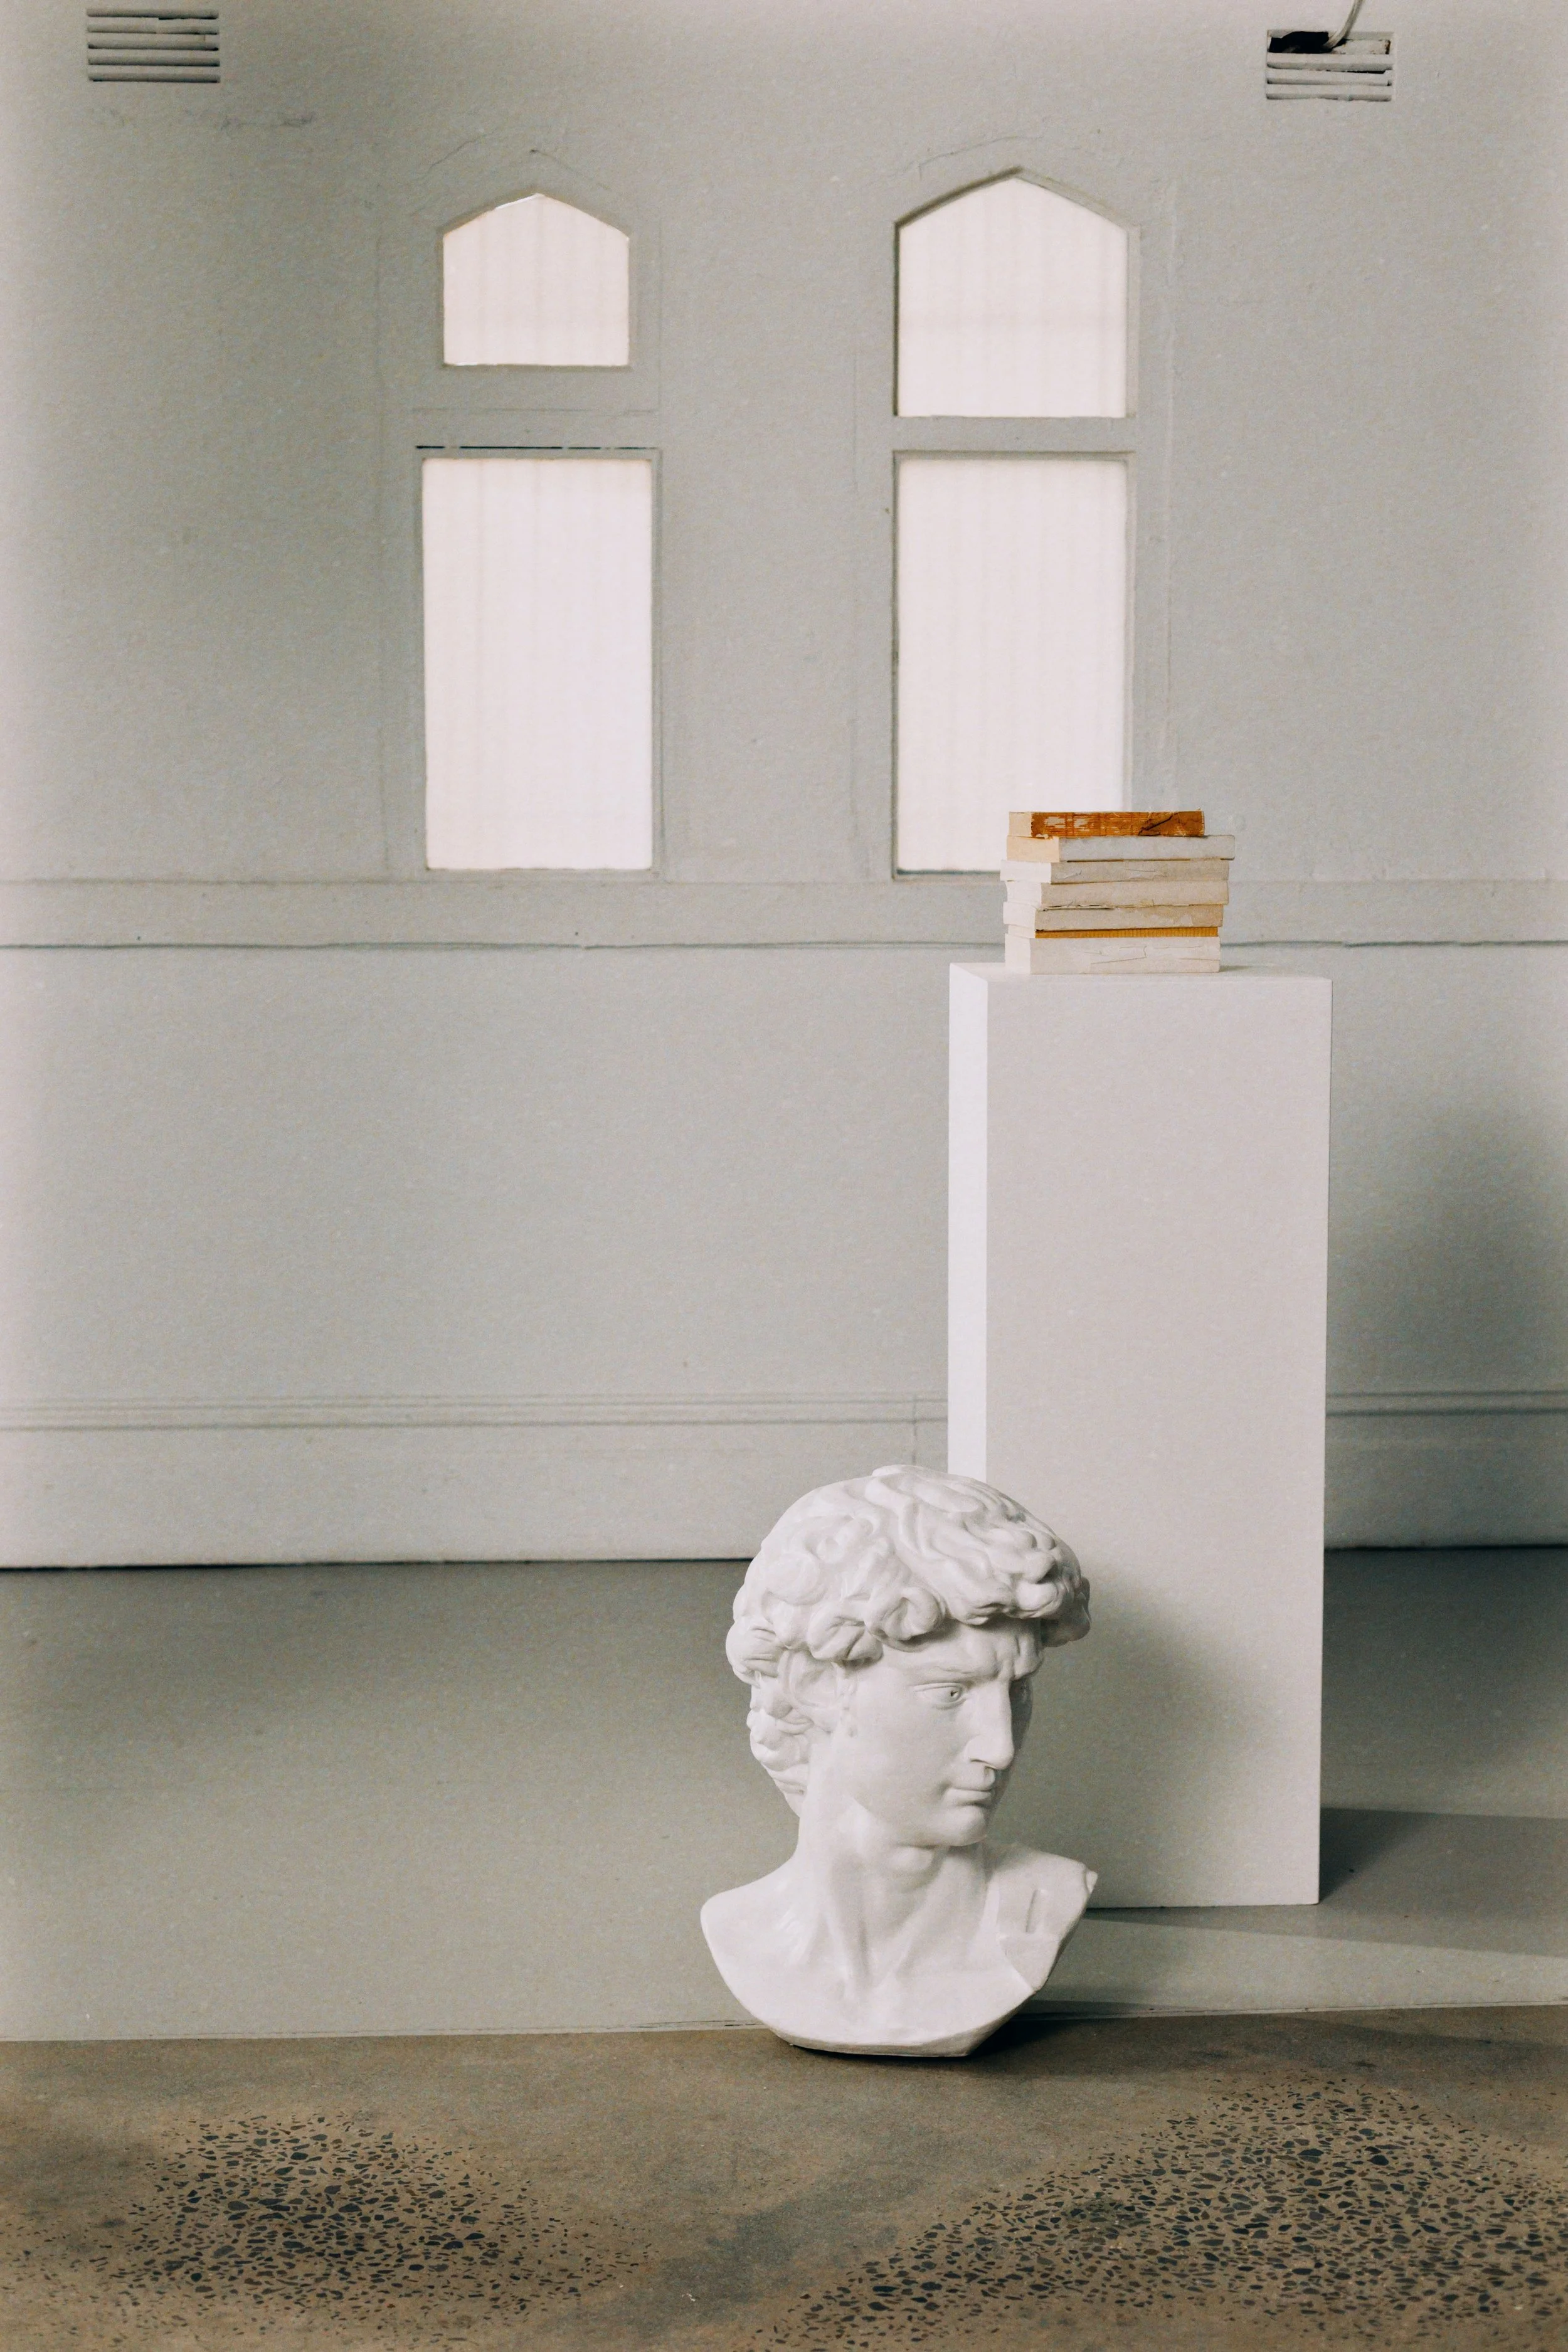
My last piece of advice really is a pro tip, but one that will make a huge difference to your images. Try to take your images from a seated height, rather than from a standing height, especially when taking interior images. This is down to aesthetic sciences, as our eyes feel most comfortable looking at an image when it feels like it was taken from sitting down, rather than standing up. Sounds a little wild I know, but let’s explore the example below so you can see how it make sense.


See how the perspective of standing to take an image, in comparison to sitting to take it (or just holding the camera lower than your standing height) makes a big difference to how “comfortable” the image is to view?
Workbook Time. Reach for your workbook, and complete Question 7.1, now.
Here’s a bit of a bonus for you if you are someone who would like to further develop their photography skills. Below is a list of resources I used myself (yes! I am a self-taught photographer!) when teaching myself ‘iphoneography’ and photography using a camera. They are all very good, and very affordable for the information they provide. My photos are now regularly published by books and magazines around the world, and I take most of the images for my Instagram accounts on my phone camera – proof that if I can do it, so can you! It really is just learning the basics and practice, practice, practice!
This class is excellent if you would like to further develop your skills using an iPhone.
I found this class excellent in learning how to photograph interiors with a standard camera and tripod setup.
Lastly, if neither of the above suit what you are looking for to further develop your creative photography aims, check out these masterclasses to find further learning that suits. All are excellent and all very affordable for the information they provide.
Lesson: Editing
Now that you have a good photo, of course you’ll want to edit it. If you’re using an iPhone, the two applications I recommend are RNI Films and VSCO Camera. If you already have Lightroom for your computer, I would highly recommend the mobile application. I encourage you to have a play and become comfortable with the capabilities of your chosen application. This way you can feel confident in your ability to not only have a beautiful image, but one that emotionally reflects the experience of your project.
Over time, you will develop a photographic aesthetic that fits you and your story. Don’t worry too much and don’t overthink it. Right now, your assignment is to firstly start to take great photos before you go anywhere near filters – simply start, have a play and have fun. Learn how to look at the world around you. There are little, sweet, ephemeral moments full of magic everywhere.
Some simple edits you can make to a good photo include:
A filter that fits your story
A little bit of contrast
A little bit of clarity
And, finally — a little grain if you’d like to go for a film aesthetic.
Try not to overdo it, but these simple edits help a lot – as you will see in the examples coming up. If you are using a camera over a phone camera, I highly recommend learning Lightroom and developing your own presets, or purchase sets from photographers whose aesthetic you like and admire. I know you might be sick of our little vignette we have been using to illustrate photographic principles, but let’s revisit it one last time with different filters applied from the different applications we have mentioned.

The original raw image, taken with all our photography principles applied.
Again, we’ve used RNI Films to edit this image with a vintage filter preset, “Kodachrome 50’s +” – see how we get another look and feel entirely? We can use filters to start to convey our story to our audience.
Our image, with a simple film filter applied, “Agfa Optima 200” from the photo editing app for iPhone RNI Films. We have also used the tools to add a bit of “grain” to emulate more of a film photo look.
Lastly, we’ve applied a black and white filter from the RNI Films presets. It’s a classic look you might want to consider for your edits, to help tell your story.
Before we move on from photography to exploring press, I want to share some final pieces of advice with you all. Taking images is a learned skill, so challenge yourself to understand and practise the principles given in this class – and take further direction from the resources provided if you would like to learn more about your camera or editing tools. This lesson, and all lessons in this class require you to actually do, rather than just read and understand.
Moving on from that, it is perfectly okay to never take an image that is published to your social media or in press ever – and still be a ridiculous success! Many of my students don’t – they harness the overwhelming amount of other image content sources available to be used for free. Here’s how to do that, and the sources you can draw from.
You might consider using other people’s excellent images by hiring a photographer (more on that next), asking for a favour from a friend who takes beautiful images, or trading products or services with someone who can take images for you.
You can use images already uploaded on the internet, as long as you reference the photographer. You can search location or key word hashtags on Instagram for images you might like to use – for example, if you are a potter, you might be able to find some lovely action photography of someone throwing pottery by searching #pottery. Or, say you are embarking on a renovation project in regional Tasmania, you might be able to find some lovely landscape photography by searching #tasmania. The same applies for searching Pinterest. Just make sure you reference the original owner or creator of the image by adding “Image Taken By (person’s name and/or Instagram handle)” to the end of your captions. Here’s a guide on how to search Instagram for images based on keywords.
You can search for stock images or videos that might suit your application, and they are often quite well priced and of a high quality. My favourite website for this purpose is Stocksy. I think you’ll all have fun exploring this resource, and feel inspired by the imagery they have that you can use!
Lesson: Obtaining Press
Most of you taking this class are going to benefit from being published in an industry magazine that suits your aims, or in online blogs, directories or perhaps in your local newspaper. We live in an extremely saturated world of content, so more often than not, the benefit of being published is less about people finding you directly from an article about you (great if so!), but more about having an article in a particular magazine as an endorsement of what you are doing. For instance, “as seen in Vogue Living, Country Style, Real Living etc.” is going to create a buzz for anyone visiting your website or your work, and let them know that you are someone they should be following, purchasing from, working with etc. Being published by a great name is a fantastic endorsement in this day and age, and if we can get it, we should use it to our advantage.
Firstly, we need to consider which publications would be useful to us to be endorsed, or published, by.
Workbook Time. Reach for your workbook, and complete Question 7.2 and Exercise 7.1, now.
Now we have identified our wish list, let’s help you get some press. Magazines and most publications these days outsource both their photography and their writing to freelancers. In Australia, for example, there is a literally a small handful of photographers and writers who are contributing to nearly every interior and creative magazine on the shelves, and unsurprisingly, almost all these magazines are all owned by one media company.
The most direct way to gain press in your desired publications is to contact one of those photographers who shoots for the magazines or publications you are interested in, and get them to photograph your home, product or business for your social media photos and website. You can also attempt to have those images (fingers crossed), published by the magazines they contribute to. Yes, you may have to make a small outlay, but the bonus, besides having incredible images for your work, is that you may also get a publication feature, advertising and endorsements which money just can’t buy. Talk about a great way to start!
I know most of you completing this chapter are understandably anxious about perhaps getting some major press for the first time, but I want to tell you, don’t be. Press are hungry for fresh, unseen content, and you can produce it for them. Most are publishing magazines every single month, and need you, and the work you are producing, to help them create publications people want to see, with fresh ideas and fresh stories. The supplier directory in our Pot of Gold in your final chapter lists the photographers we work closely with here, and in The Hosting Masterclass around Australia. We recommend you chat with any of them openly and honestly about your aims, both for the images you would like to receive and for your press wish list. I know any of them would be over the moon to work with you and help you on your way.
Lesson: Hiring A Photographer
This leads us to a discussion about hiring a photographer. Once you have made your wish list of publications you would like to be in, and started to understand who is taking images for them – you’ll be able to reach out via the photographer’s website (a quick Google search of their names should turn it up!). Tell them what you would like the images for – and that you would love to be published by the magazines they freelance for.
It would be useful for them if you attach a copy of your story, so they get a vibe of who you are. Ask for their cost including travel, an agreement that you would own the pictures – and when they might be available. Most good photographers are booked 3–6 months ahead, but do travel nationwide regularly, so would fit you into their schedule when visiting your area.
Essentially, you are trying to get an understanding of their cost, your legal rights to use your images, and what your potential for getting published is, before you hire them. In the end, it’s these details that may help you decide who you actually decide to work with. Please talk to at least three before you hire one, it is a big investment.
Lesson: Do’s & Don’ts
Before we go, I want to give you some final words of advice when working in the world of obtaining media, and catching some major press. Here is a list things I have learnt along the way, and you might be mindful of. Let’s start with the don’ts.
Don’t be public about any press you might get until it is actually published. You will likely know ahead of time if your work is going to be in a particular issue of a certain magazine, but you need to keep that information quiet until it hits the shelves.
Don’t cold call, or cold email editors of magazines with your images or your pitch. Magazine editors are incredibly busy people, and emails like these tend to annoy rather than pique interest. It is best to approach freelance writers or photographers working for the magazines you’d like to be featured in, rather than the editors themselves.
Don’t offer your images to another publication if you already have a feature coming out using those images. Be honest with publications about where that particular set of images has been used, and when. Magazines like exclusives on stories – and really dislike using images that have been published by competing publications in the past.
Don’t tag magazines, photographers or writers in your Instagram stories or images unless it has something to do with them. Many people tag or hashtag people and publications like this, hoping that their work will be seen. It has the tendency to annoy rather than attract interest from the intended party.
Now, here’s a list of things to always do!
Be honest when being interviewed by your writer about your project, who was involved with it and give credit where credit is due. I’ve seen many particularly nasty situations in the past, where stylists and designers have worked hard for a client to complete whole house renovations and builds – and in the press, owners have framed it as if they had done the work themselves. Word always gets around about these mistruths and it always does more harm to a project than good in the end.
Thank the editor, photographer and writer of your feature, both via email and publicly on your social media when your press comes out. All three have had a lot to do with such a huge achievement for you, and you should always acknowledge their efforts.
Make sure to always tag or credit the photographer who took an image for you on your social media, as they are the owner of that work and appreciate you doing so, even if you paid for the images. Something as simple as “Image by @nameofphotographer” at the end of your caption will suffice.
Lastly, be really proud of your efforts — and any resulting press from them. We all do suffer with a bit of imposter syndrome and fear being the “tall poppy” – so please do your homework and read The Man In The Arena speech below, and know that you deserve everything you’ve worked so hard to achieve.
“The secret of getting ahead is getting started.”
— Mark Twain
07. Homework
Read: The Man in the Arena speech.
Do: Take one image that you feel represents your story as a whole for you. This is a key challenge for the class so be sure to take your time and then post it using the hashtags #principlesofstyle and #poss07 – and explore the hashtag so you can see how others have interpreted the exercise.
07. Community
Any work, or ideas you are posting related to this class, please use the hashtags #principlesofstyle and #poss07 so your fellow classmates can connect with you and continue to grow this community.